How to Create Vector Art From Jpeg in Illustrator
The conversion of raster images into vector files is a common request nowadays. It is especially useful if you need to make illustrations out of raw photos.
Adobe Illustrator is a graphic design software that is known for its creative graphic tools and custom settings.
Illustrator's Prototype Trace is the tool that can help you exercise that and more. For instance, if you need to resize a photo to whatsoever dimensions, y'all can apply Paradigm trace in Illustrator to turn your raster image into a vector and resize information technology while preserving the quality.
If you lot've been post-obit our previous Illustrator guides and how-to's, you probably know that nosotros will follow the same process in this guide.
Kickoff, we will look at how to utilise Illustrator'due south Image Trace. And so, nosotros will show the step-by-pace procedure of how you can trace a logo and how you tin trace image files.
At the same fourth dimension, we will give y'all some tips on the type of images to choose and how to experiment with the logos and pictures that you trace. In the final office, we volition take a look at how you can become the aforementioned result in Vectornator, a free and like shooting fish in a barrel-to-employ culling to Adobe Illustrator.
Sounds good? Allow's ready all the tools you will demand then!
What Is Needed To Follow These Steps?
Adobe Illustrator (Obviously)
If you do non take a subscription to Adobe notwithstanding, you lot tin get a free trial before purchasing Adobe Illustrator.
A Simple Logo
Feel free to use any logo you want to follow these steps. Pick any modern logos with simple forms and simple direct lines or curved lines to reach a great issue. Whatever logo that uses only a few colors will be great too.
Selecting a simple logo volition be especially helpful if this is the first time you will endeavour the Trace Tool.
A Photo
Experience free to pick any Raster Image you like. Merely once again, if this is the outset time using Image Trace, await for a movie that is not super complicated or contains a lot of different colors.
Another tip would be to choose JPG and PNG formats to trace. If you use a photo direct, and it gets converted into a vector in the exact same style, you will finish up with a large file size that can get a fleck challenging.
That is why the raster prototype formats mentioned above are a better idea.
What is Paradigm Trace?
In reckoner graphics, Image Tracing is the process of converting raster files into vector files. Similarly, Image Trace in Adobe Illustrator converts raster images into editable vector images.
Why do You Need to Convert an Paradigm into a Vector?
As you may know, any bitmap image is composed of pixels. The more you zoom in on a bitmap prototype, the more than you volition notice its pixelation.
The same problem may appear when you endeavour to calibration information technology down. That is where vector images come up into play. One time the image is converted into a vector, its shape will be scalable indefinitely.
Therefore, no affair how much y'all want to zoom out or zoom in, you will non run into whatsoever pixels, and the quality of the image or logo will stay intact.
Tracing an unabridged image in Illustrator may not come out as perfect as you may need it at times, specially if you are using complicated logos or pictures. Nevertheless, you will have the option to tweak the image or the logo you have turned into a vector.
How To Trace A Logo In Illustrator
Permit'southward brainstorm with the steps you need to trace a logo in Illustrator.
~pace~ Footstep 1 ~step~
Choice a logo and save it as JPG on your desktop. You can also use other raster images such equally PNG and GIF. As mentioned earlier, the simpler the logo, shapes, and colors, the easier information technology will be to achieve a groovy result.
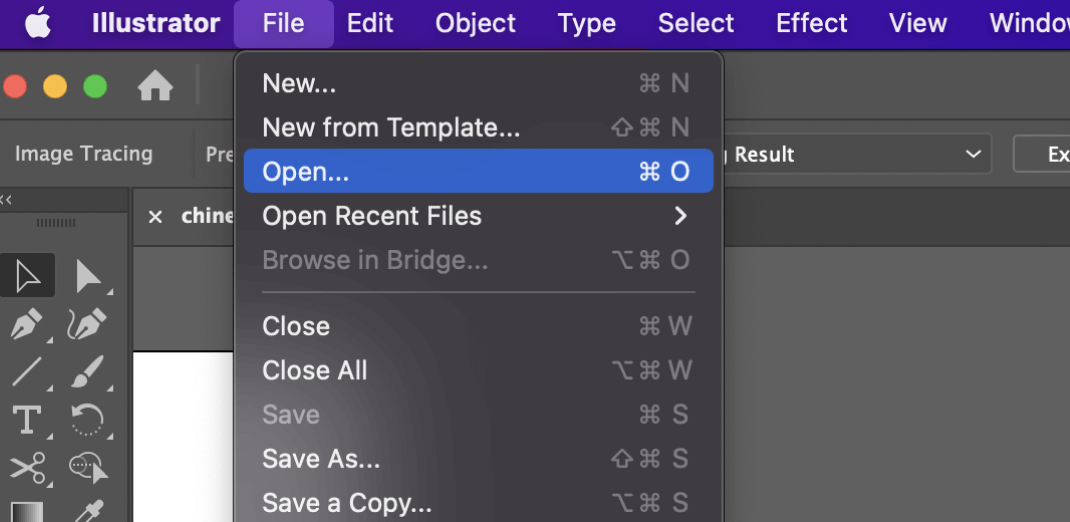
Now open Illustrator and go to File > Open to select your logo from your desktop and open it in Illustrator.
~stride~ Step ii ~pace~
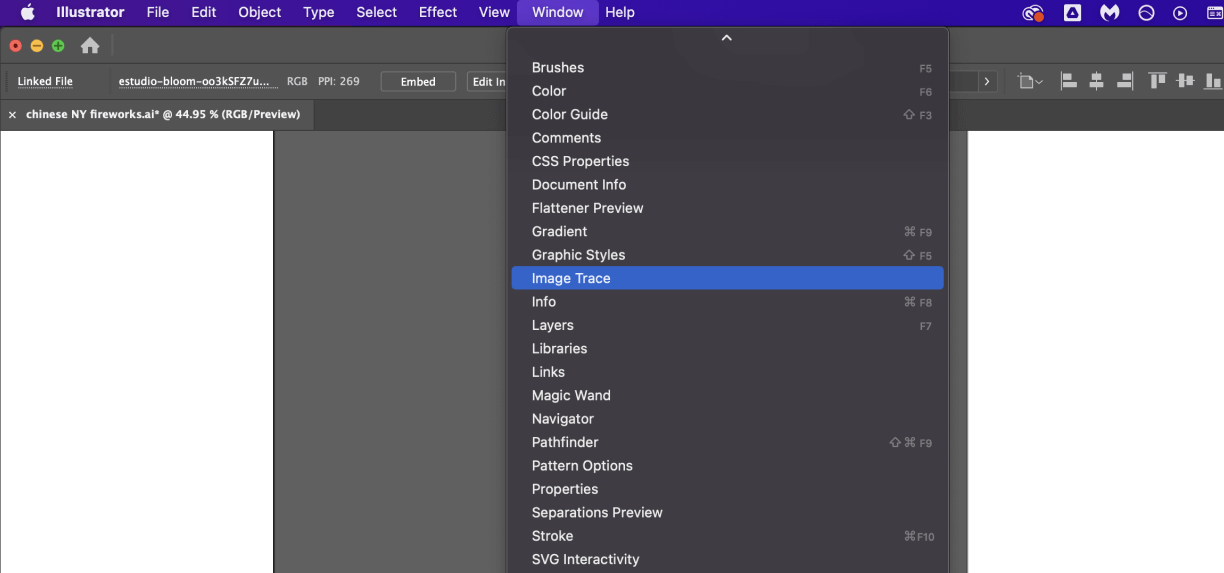
Subsequently you have your logo open in your Illustrator document, get to Window > Image Trace to start the process of tracing the logo.
~step~ Step 3 ~step~
![]()
In one case the Image Trace window is open up, click the logo paradigm to select information technology. To know whether your photograph is selected or non, cheque whether the options are grayed out.
If they are, that means you have not selected your image. So make sure it'south selected with the Selection tool (5) earlier going alee with the next steps
~footstep~ Step iv ~pace~
One time you reach this step, you will have to decide how many colors you lot need for your vector paradigm. Why is this important? Because the fewer colors you use, the smaller the size of the file will be.
And as you lot may know, working with smaller file sizes is more accessible and less complicated. Therefore, it is best if the logo you need to trace contains but a few colors, so you can preserve its shape and colors as much every bit possible.

The next step is to become to the Adobe Illustrator Paradigm Trace console, click on Mode, and select Colour from the dropdown menu.
~step~ Pace 5 ~stride~
The built-in preset options of the color default settings should be fine, but you can besides ready the colors to twenty. Then, click the Trace button in the bottom right corner of the Image Trace window once the colors are selected.
![]()
~step~ Pace 6 ~step~
The logo will now be traced and turned into an editable vector image. You can scale it up and down every bit you wish, and its quality will remain unchanged. So yous will not have to worry about quality loss, no matter if you scale down the logo for business cards or scale it up if needed for posters or billboards.
![]()
How To Trace A Photo In Illustrator?
Tracing a photo in Illustrator is like to the half dozen steps above. However, y'all will notice that you will need to follow more steps to trace an image file than tracing a logo. And that change in process will beginning from footstep 4. Only let'southward not become alee of ourselves.
Before starting with the outset step, proceed in mind the tips we gave you regarding which formats work best when tracing an image.
~step~ Pace 1 ~footstep~
Pick any photo and save information technology as a JPG or PNG on your desktop. Then go to the File > Open to navigate your desktop and open your chosen file in Illustrator.
~step~ Step 2 ~stride~
After yous have your image transferred to Illustrator, open the Epitome trace window by going to Window > Image Trace. All the tools you will demand will be included in the console menu of the Epitome Trace window that you open.
~step~ Stride 3 ~step~
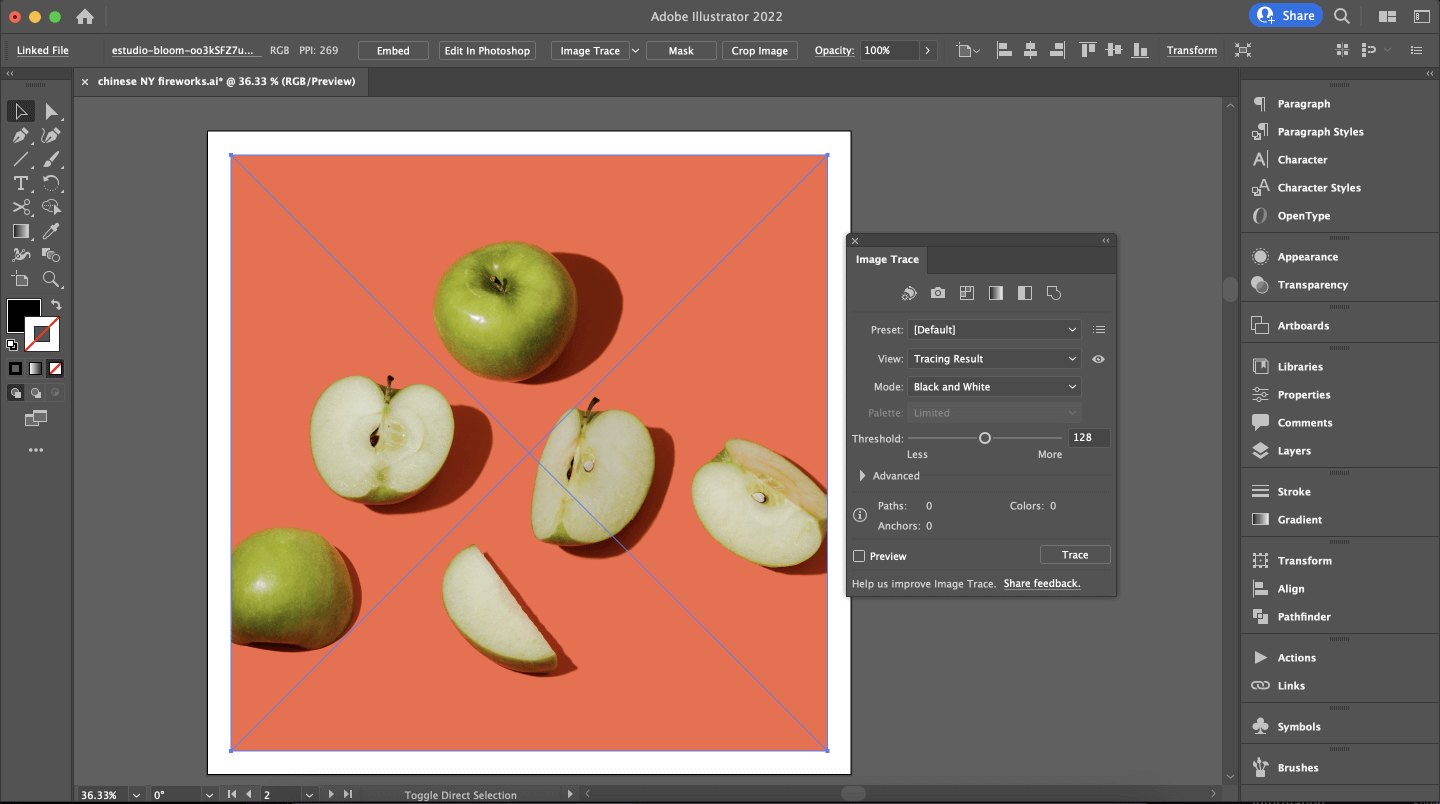
Now that the Paradigm Trace window is open up, click the image to select it. Like the tracing a logo process, the epitome is not selected if the options are grayed out.
Therefore, ensure that your photograph is selected using the Selection tool (V) before standing with the next steps.
~step~ Step iv ~stride~
Now we begin the tracing process. Simply kickoff, we will have to convert the image into a Black and White vector image.
To practise that, become to the Image Trace panel, click on Mode, and select Black and White from the preset drop-down carte. So click Trace in the bottom right corner of the Image Trace window.
~footstep~ Stride 5 ~step~
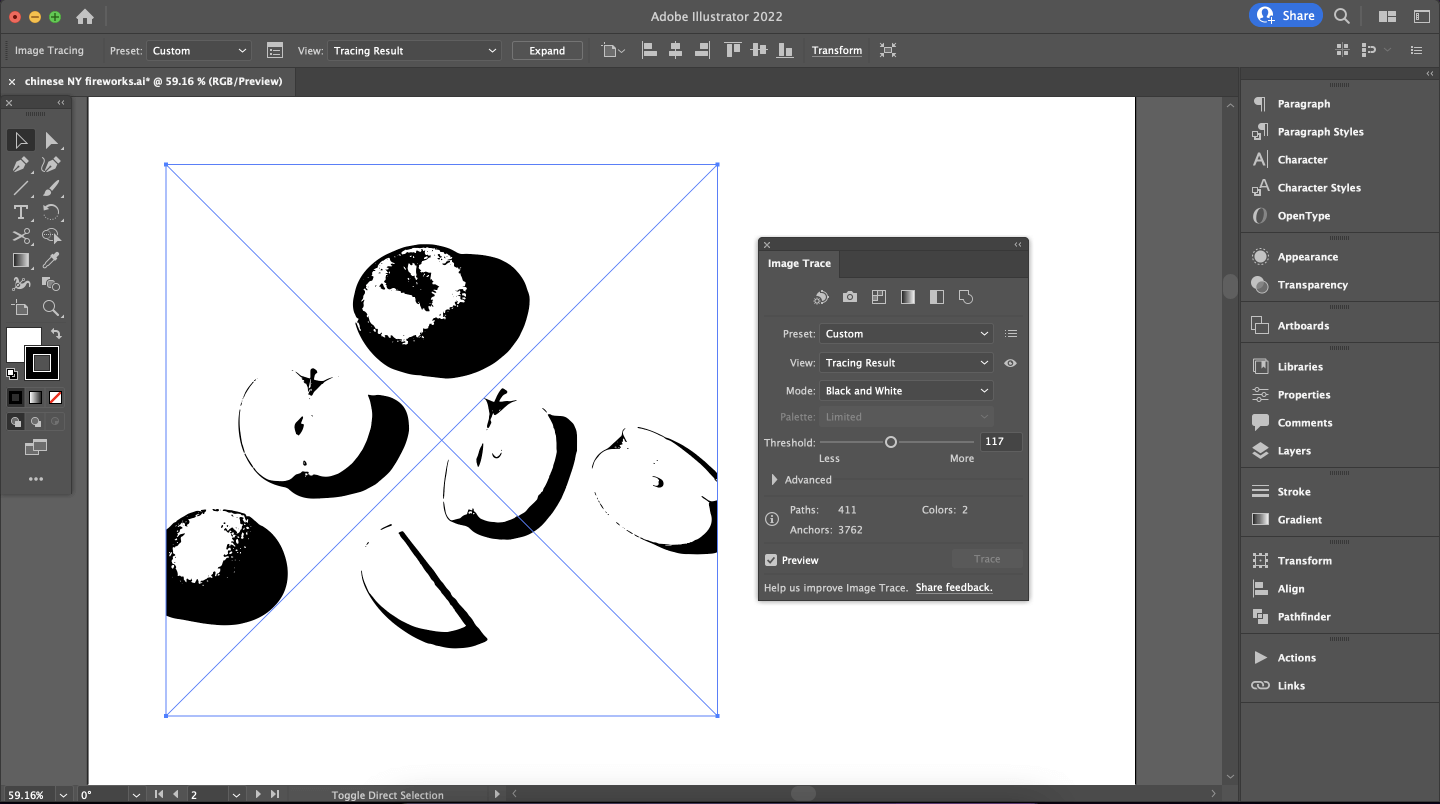
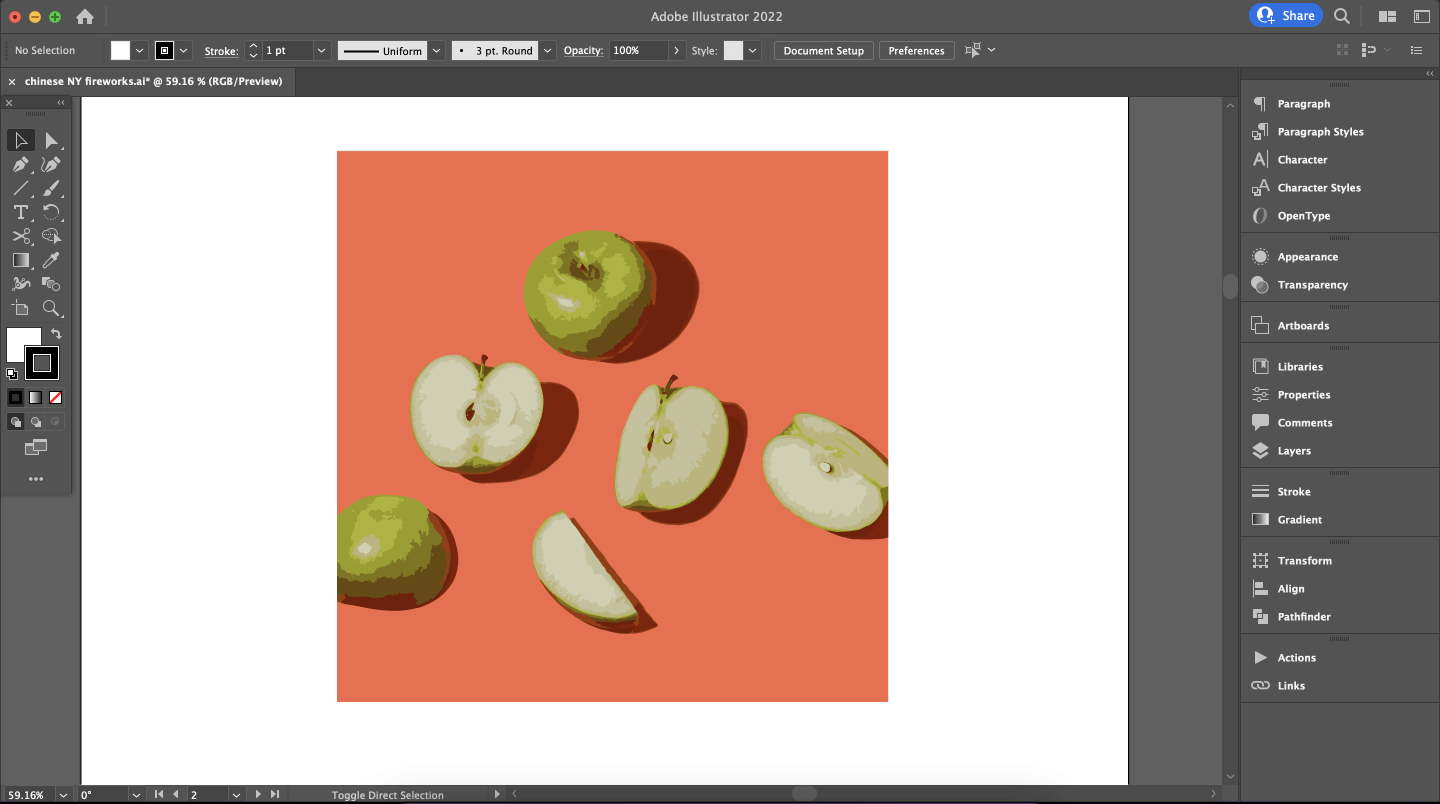
And Done! Nosotros have converted the photograph into a black and white vector image. Simply the process does not cease here.
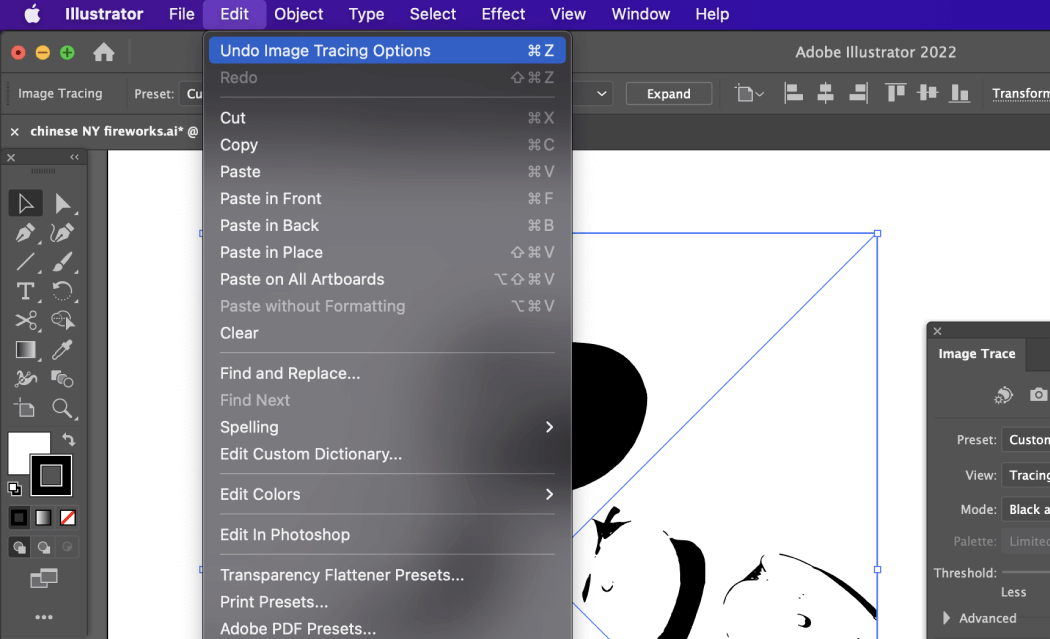
It is fourth dimension to make a limited color version of the picture show. Before doing that, you volition need to undo the Image Trace by going to Edit > Undo Image Tracing.
~footstep~ Step 6 ~step~
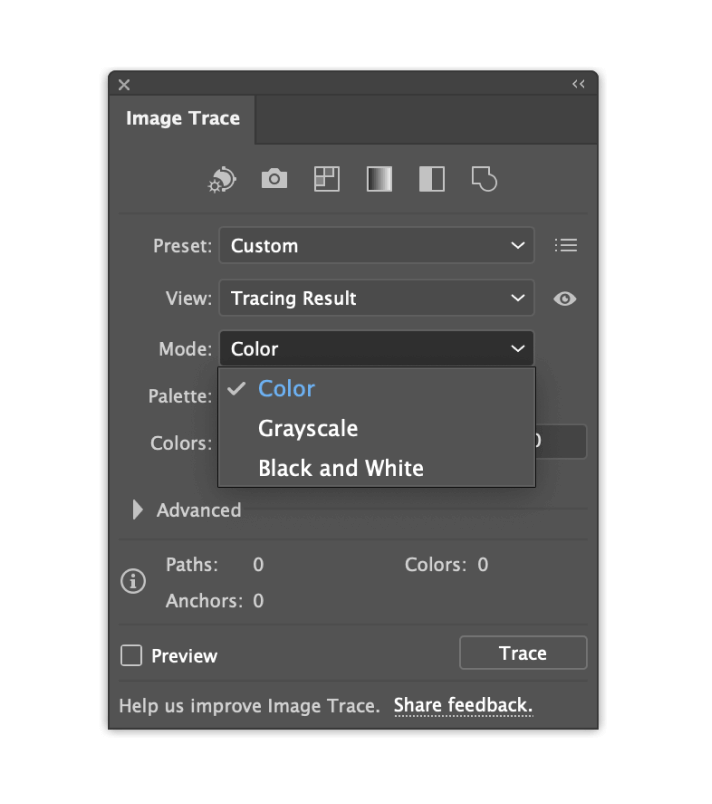
In one case you lot are done with it, go to the Paradigm trace panel once again and click on Mode. And then, select Color from the dropdown menu.
~step~ Step 7 ~step~
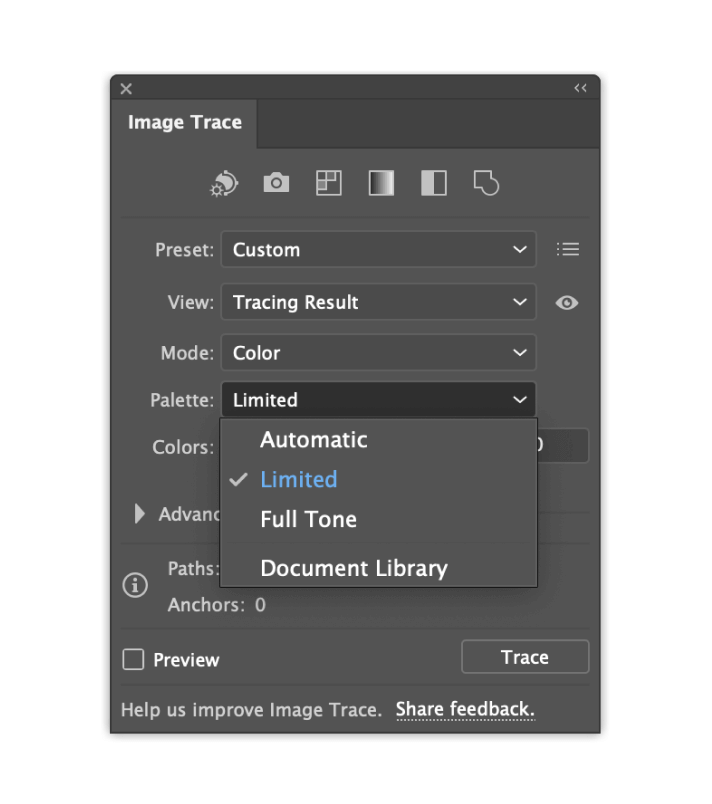
Before choosing your palette size, it is essential to set your Palette to Limited.
To do that, let's go back to the Epitome Trace window which we have opened and click on the Palette, which you can find correct below the Color Way choice nosotros used earlier. Select Limited from the drop-downward menu.
~step~ Step 8 ~step~
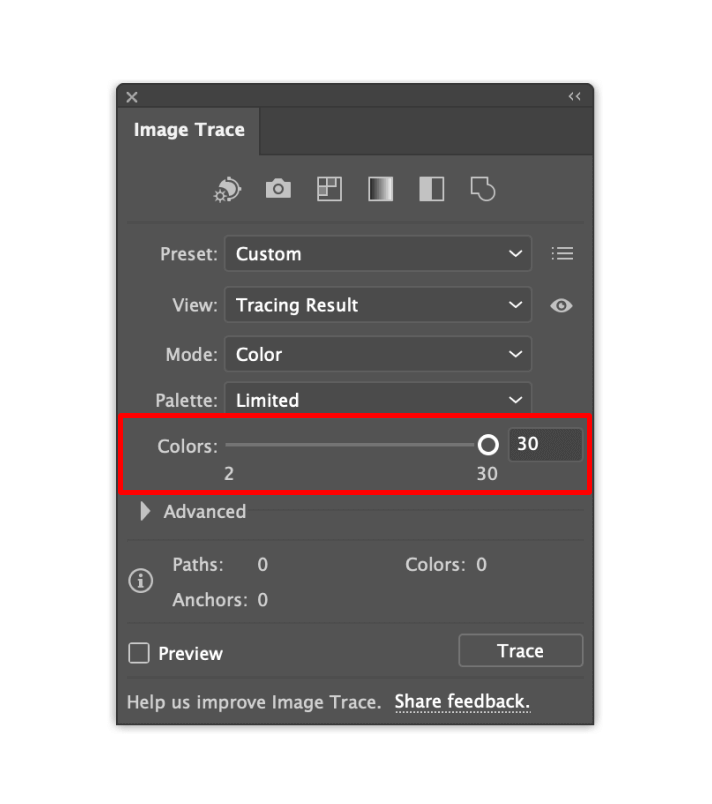
Equally with the logo tracing process, it is crucial to reduce the size of your palette. To practice that, go to the Colors section and select twenty colors out of the default preset that has 30 colors.
~step~ Pace 9 ~step~
Then, click Trace in the bottom right corner of the Image Trace window as you take done previously. Go along in heed that, depending on your settings, this process might take a while.
So, before you panic and starting time clicking other settings, give it some time to process and trace the image.

~step~ Step 10 ~step~
Merely like that, you take a vector version of your photograph! You may still need to adjust the vector upshot and perfect it, but the important affair is that at present you can use the scalable nature of the vector graphic to your advantage.
You can resize the image and scale up as much as y'all want without negatively affecting its quality.
How to Trace an Epitome in Vectornator
Did you know you can use Vectornator'southward Automobile Trace characteristic to achieve the same consequence? Vectornator is some other graphic design software that is an excellent tool for creating graphics.
What is Auto Trace, and How to Apply It?
Auto Trace, just like Image Trace, automatically converts images into vector shapes. If you desire to create a vectorized version of an epitome, you lot tin can use auto trace to practise that and relieve fourth dimension.
Similarly, y'all can use Vectornator's Auto Trace feature to plow your favorite logos into vectors.
~step~ Step 1 | Import Image To Your Document ~step~
Open a photograph using the Document Picker, or import a photograph into your document using the Import Tab inside the Inspector. To select the prototype, think to unlock it.
~step~ Step 2 | Open The Auto Trace Menu ~step~
To access the Machine Trace Menu, go to the Manner Tab. As presently as you select an image, you will see the Auto Trace Console at the top of the Style Tab. Y'all volition find 2 sliders in this panel:
- Max Number of Paths slider
- Minimum Path Size slider
~step~ Step iii | Adjust The Number Of Paths And Path Size ~step~
Earlier performing the Car Trace, brand certain to adjust the number of paths and the path size settings mentioned above.
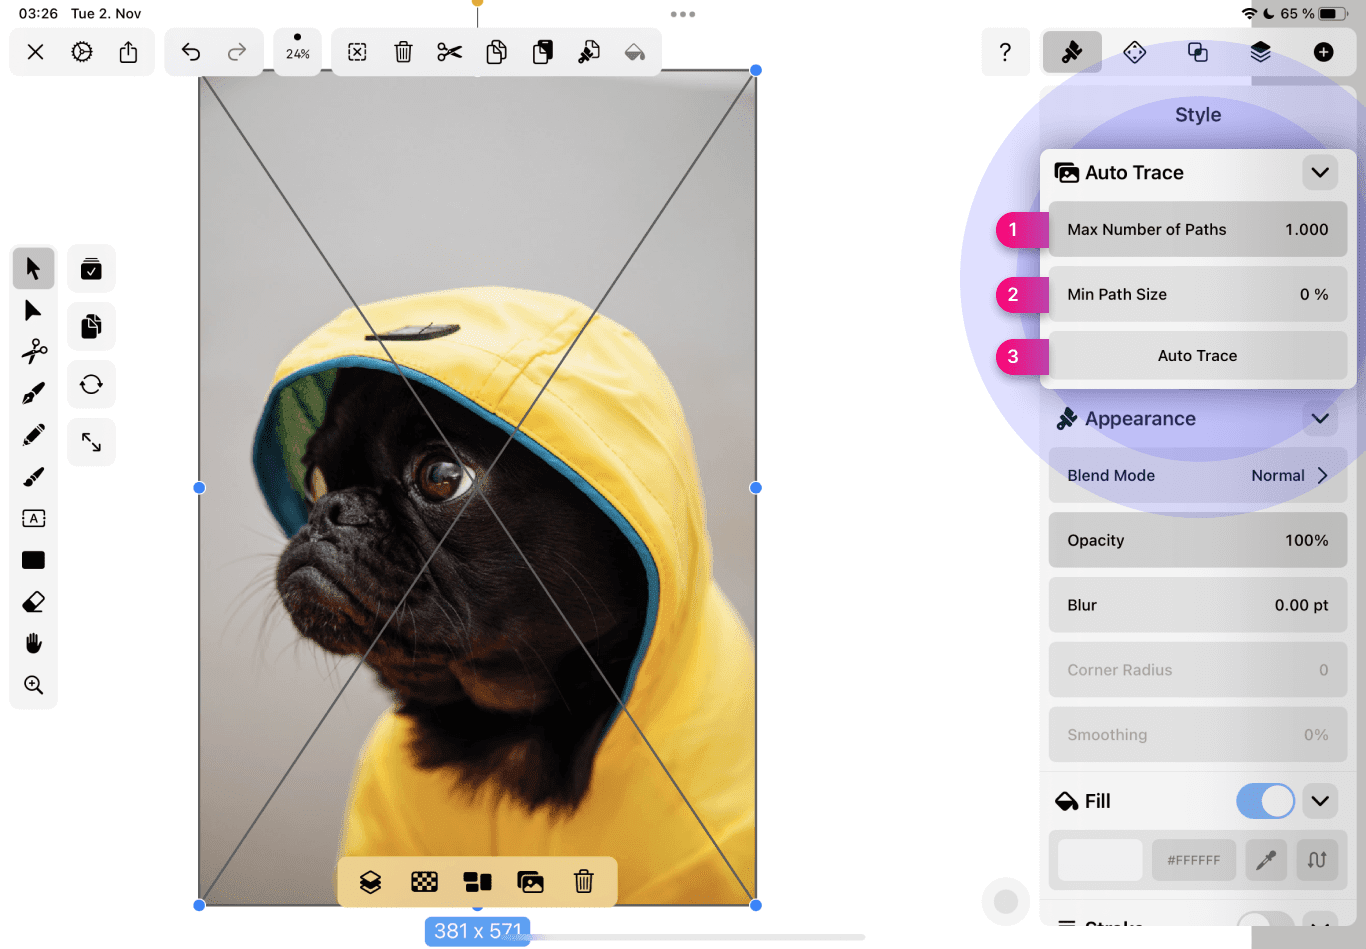
~step~ Footstep 4 | Car Trace ~pace~
Now y'all are ready to tap the Auto Trace button. Give it a few seconds, et voilà! You will accept vectorized versions of your image in a matter of seconds.
~stride~ Step 5 | Edit The Vectorised Image ~pace~
After your prototype is converted into vector shapes, yous tin can go ahead and edit the paths via the avant-garde options.
Feel free to explore the existing presets as well equally boosted presets.
Check out this complete Auto Trace guide to learn how to edit the vectorized prototype in Vectornator.
So There You Take Information technology!
We hope this article inspired you lot to experiment with image tracing in Illustrator and create beautiful vector images and logos.
If you lot are looking for an alternative method to reach the aforementioned effect, Vectornator is the tool to go. Yous tin can apply its Auto Trace feature to reach the aforementioned result in fewer steps, as shown above.
Is There Some other Method For Tracing An Epitome In Illustrator With More Command?
Yes. Of course, there is. You can always utilize the cartoon tools in Illustrator to have more control when tracing an paradigm.
The manual tracing will give you more creative freedom. It volition also requite yous more control over image tracing.
However, keep in mind that this process is much more than time-consuming. Moreover, information technology volition require extensive use of the Pen Tool. Using the Pen Tool might exist challenging if you are a beginner, as it has a higher learning curve.
All the same, the tool is pretty intuitive, and you will get used to it in no time once yous spend some fourth dimension using it.
We will too publish a guide that will explore the Pen Tool in the following weeks, so stay tuned if you desire to learn how to use it. For more information on our Pen tool and to learn more about Vectornator and what you tin practise with it via our Learning Hub.
Source: https://www.vectornator.io/design-tips/how-to-trace-an-image-in-illustrator
0 Response to "How to Create Vector Art From Jpeg in Illustrator"
Post a Comment